Key takeaways
- You can put a new backsplash over the countertops you have, as long as those counters are staying for years.
- What decides the job is the back edge of the counter: a laminate top with a curved splash built into it keeps that splash, while a separate splash strip can come off.
- Outlets and switches have to come forward to meet the new wall surface, and the joint where the backsplash meets the counter gets flexible sealant, not grout.
- That caulked joint also gives a future countertop swap a clean line to cut, though the bottom row may need new caulk or trimming.
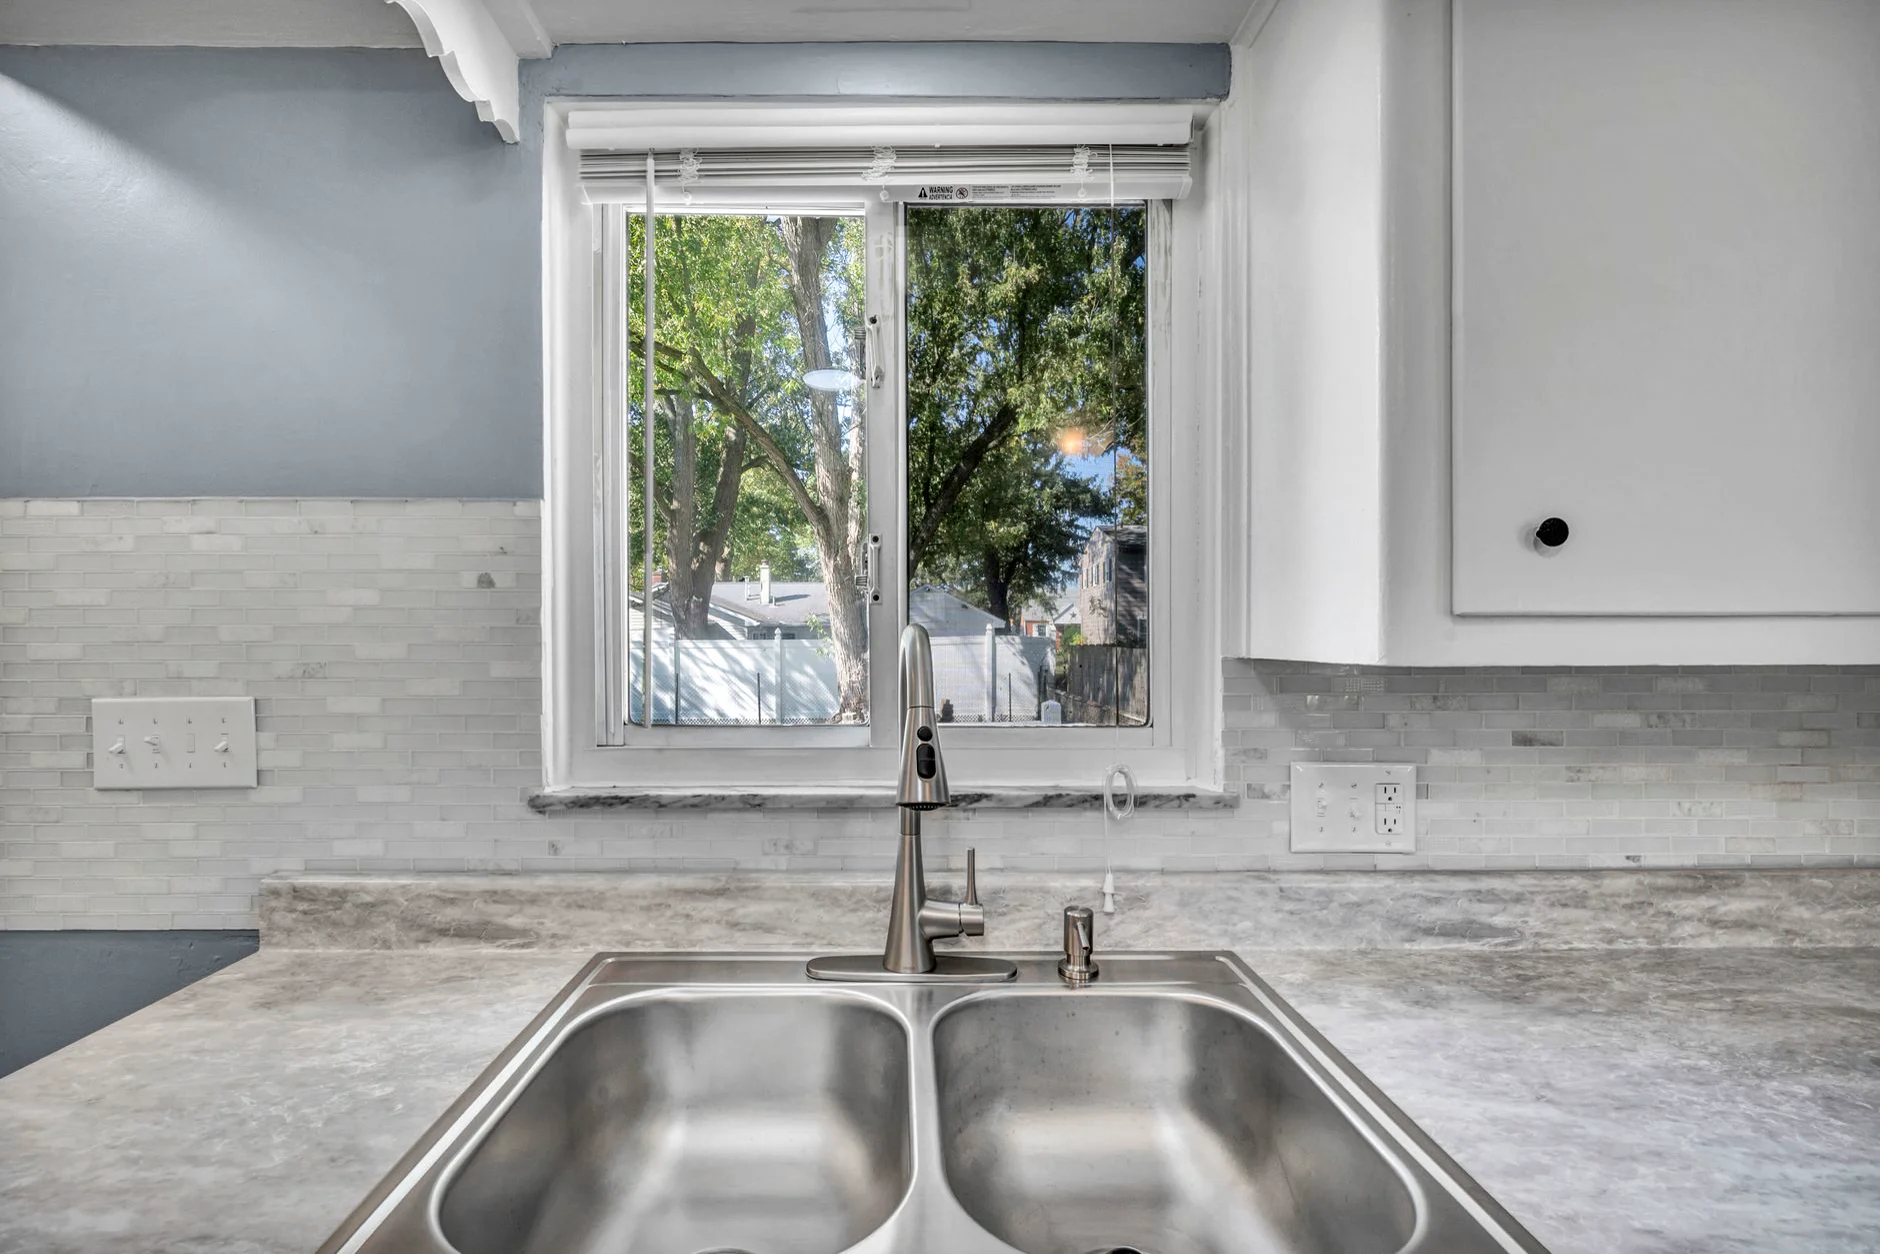
The granite in your Anderson Township kitchen went in around 2005 and still looks good. The wall behind it doesn't. It's a builder-beige paint with a grease shadow behind the range and a line of torn drywall paper just above the short stone splash at the back of the counter. You'd like a real backsplash, and you don't want to pay for counters you already like.
You can do it. A new backsplash can go in on its own, and it's one of the faster changes you can make to a kitchen. It works when four things check out: the counter is staying, you know what's at its back edge, the outlets can come forward, and the joint at the counter is built to let go later. The steps below take you through each one.
Before you begin
Give yourself 15 minutes. Have these ready:
- A tape measure and a pencil.
- A plastic putty knife, for poking at the joint along the back of the counter.
- Your best guess at how long the counters will stay. Write the number down.
- A list of what's mounted on the backsplash wall now: outlets, switches, under-cabinet light wiring, a paper towel holder.
Step 1: Decide that the counters are staying
By the end of this step you'll know whether the backsplash should go first or wait.
A backsplash sits on top of the counter and is cut to its line. When the counter comes out later, the bottom of the backsplash is the part that gets disturbed. So be honest about the counter before you pick tile.
Granite, quartz and solid surface in good shape can outlast the backsplash you put over them. Laminate is the one to look at closely. Run your thumb over the seam by the sink and open the cabinet underneath. A ridge at the seam or soft board around the sink cutout usually means water has reached the particleboard core, and what replacing a laminate countertop involves explains why no patch on the face fixes that.
If you expect to replace the counters within about five years, do the counters first. The backsplash goes in last, on the new top. If the counters have ten good years left, carry on.
Step 2: Look at the back edge of the counter
By the end of this step you'll know where the new backsplash starts.
What sits at the back of your counter now falls into one of three cases.
- A laminate top with the splash built in. Many older laminate tops are post-formed: the laminate is heated and bent around a curved particleboard core, which gives a one-piece counter and backsplash with a rounded cove where they meet, as Fine Homebuilding describes the process. You can't pull that splash off without ruining the top. The new backsplash starts on top of the old one, and the curved splash stays.
- A separate splash strip. Stone counters, and some laminate ones, have a short strip of the same material set against the wall and caulked to the counter. Slide the putty knife into the joint at the bottom. If it finds a caulk line between strip and counter, the strip is separate. It can stay, or it can come off so the new backsplash runs all the way down to the counter.
- No splash at all. Just a caulk line where the counter meets painted drywall. The new backsplash starts at the counter.
If the strip comes off, plan on some wall repair behind it. The paint often stops at the strip, and the caulk tends to take drywall paper with it.
Also check the line along the wall. Run your hand along the back edge. A gap you can slide a coin into at one end and not the other means the wall isn't straight, and the bottom row of tile will have to follow the counter, not a level line. Plaster walls in older Cincinnati houses often aren't flat, and the person setting tile needs to know before the first row goes up.
Step 3: Bring the outlets and switches forward
By the end of this step you'll know what the electrician has to do.
Every layer you add to the wall pushes the face of the wall out past the outlet boxes. Tile and its setting bed can bury an outlet box behind the new surface, and the cover plate won't sit right. The fix is a box extender, a plastic sleeve that brings the box out to the new surface. Arlington, which makes them, says its extenders level and support the device where a box sits behind the wall surface, so the work can comply with NEC Article 314.20, the code section on boxes set back from the wall surface. Have an electrician handle it.
While the cover plates are off, look at what kind of outlets you have. Ground-fault (GFCI) outlets, the kind with test and reset buttons, first became required in kitchens in the 1987 National Electrical Code, for outlets above the counter within 6 feet of the sink, according to the International Association of Electrical Inspectors. The same IAEI article says the 2023 code covers every outlet in a home kitchen. A kitchen wired in the 1960s or 1970s may have none. Having an electrician add them while the cover plates are off is the easy time.
Under-cabinet lights are the other thing to settle now. If you want them and don't have them, the wiring goes in before the backsplash, not after.
Step 4: Pick a backsplash that works with today's counter and the next one
By the end of this step you'll have a short list of materials.
Bulldog installs ceramic, porcelain and glass tile, natural stone and mosaics, and grout-free panels, which are the options on our countertops and backsplash page. They all work over existing counters. What changes between them is how much they depend on the counter they sit on.
| Material | What it asks of you | If the counters change later |
|---|---|---|
| Ceramic or porcelain tile | Grout lines to wipe down | A plain color works with most counters |
| Glass tile or mosaics | Grout lines, and a busier look | Small pieces sit better over a quiet top than a busy one |
| Natural stone | Some stones need sealing; ask about yours | Picked to match a granite, it may fight the next top |
| Grout-free panels | No grout lines | A solid or quiet pattern carries over |
Tile is a good choice for a kitchen wall, and a tile backsplash that's set and grouted well holds up. Grout behind a stove does pick up grease, so a darker grout color in that zone can save you some scrubbing. Grout-free panels give you the same wall with no grout lines to clean.
If there's any chance the counters change in the next ten years, keep the backsplash quieter than the counter. A busy granite already has a lot going on, and a backsplash chosen to pick up one fleck in it ties the wall to that slab. A plain white, cream or soft gray tile, or a solid panel, still looks right over quartz or solid surface later. If the counter stays, a quiet wall lets the granite stand out. Bring the samples home and hold them against the counter under your own kitchen lights, morning and evening.
Step 5: Get the joint at the counter right
By the end of this step you'll know what goes in the joint where the backsplash meets the counter, and why it matters.
The counter and the wall move separately. The wall moves with the house, and the counter moves with the cabinets under it, so the joint between them can't be rigid. Writing in Fine Homebuilding, tile consultant Donato Pompo says the tile industry's movement-joint guideline, EJ171, calls for a movement joint at every transition between planes or materials, filled with a sealant meeting ASTM C920, typically 100 percent silicone or polyurethane, over a foam backer rod where tile meets cabinets or counters. He warns against acrylic caulk there too. Grout is rigid, and a rigid joint between two surfaces that move is the one that cracks.
That caulk line pays off a second time. If you replace the counters in eight years, the installer can cut the bead instead of prying tile off the wall. A new top doesn't always sit at the same height as the old one, so ask whoever installs your backsplash to keep the bottom row clean and level, and expect a new caulk line or a trimmed bottom edge when the new top goes in.
Ask any installer what goes in that joint. For tile, "silicone, color-matched to the grout" is the answer you want.
Step 6: Plan the days
By the end of this step you'll know what living through it looks like.
A backsplash over existing counters is a smaller job than a countertop replacement, since the tops stay where they are. You'll want the counters cleared along the backsplash wall and the small appliances somewhere else. Tile needs time for the setting material and the grout to cure, so plan on the job running past the day it starts. Many kitchen updates take a few days, not months, and your project coordinator gives you the dates before anything starts.
How Bulldog does it
We add backsplashes on their own, without new counters, and we coordinate the new wall with the counters and cabinets you're keeping. A design consultant comes out and looks at the back edge of the counter, the outlets and the wall. You get a written quote after we measure. What sets it is the square footage, the material and whether an old splash strip comes off.
If the counters do turn out to be next, one team handles the counter, the backsplash and the sink and faucet. The same people who measure come back to install, and the work carries Bulldog's lifetime warranty on product and workmanship for as long as you own the home. Financing is available on approved credit; the financing page has the current plans.
If the check in Step 1 told you the counters are next, start with quartz, granite or solid surface and put the backsplash on the list for the same visit. If the counters are staying, call (513) 657-3750 or request an estimate, and tell the consultant which of the three back edges you found.
A new-looking kitchen in days, not months walks through every part of the kitchen in order: what to keep and what to replace.