Key takeaways
- An older tiled shower fails from the surface inward.
- The grout goes first, then the caulk at the tub, then the board behind the tile and the subfloor under the tub.
- The pipes in the wall wear out on their own schedule.
- Grout and caulk problems respond to cleaning, sealing and new caulk.
- A dull tap on the tile or a soft floor by the tub means water has reached the wall or the floor, and in a shower 20 years or older that usually means replacing the wall, not regrouting it.
The master shower in your ranch went in with the house, or in a remodel around 2000, and it still works. The bottom row of grout goes gray a few months after you clean it, and the pink line is back on the caulk. The floor by the tub feels different under your foot than it used to. Those are separate problems with separate fixes, and they show up in a set order, from the face of the shower back into the wall. The order tells you which fixes still work.
The order an older shower fails in
Water does the damage, and it works from the outside in. It gets through the grout first, since grout is the only porous thing on the face of a tiled wall. Then it gets past the caulk where the tub meets the wall. Once it's through those two joints it reaches the board the tile is stuck to, and from there it runs down to the subfloor under the tub. The pipes in the wall fail on their own schedule at the same time, from the inside.
You can see and fix the first two stages from inside the shower. The last three happen behind the tile, and you find them by tapping, pressing and looking up from the basement.
| What you notice | What it usually means | Fix that still works |
|---|---|---|
| Grout gray again months after cleaning | Water and soap soaking into the grout | Oxygen-bleach clean and a penetrating sealer |
| Pink or black line on the tub caulk | Soap film on caulk that stays damp | Cut out the caulk, run new silicone |
| Tile that sounds dull when you tap it | The board behind the tile is wet or loose | New wall, not new grout |
| Floor that gives next to the tub | Wet subfloor under the finish floor | Tub comes out, subfloor replaced |
| Hot water slower at every tap | Old galvanized pipe closing up inside | New pipe while the wall is open |
Stage 1: grout that goes gray again
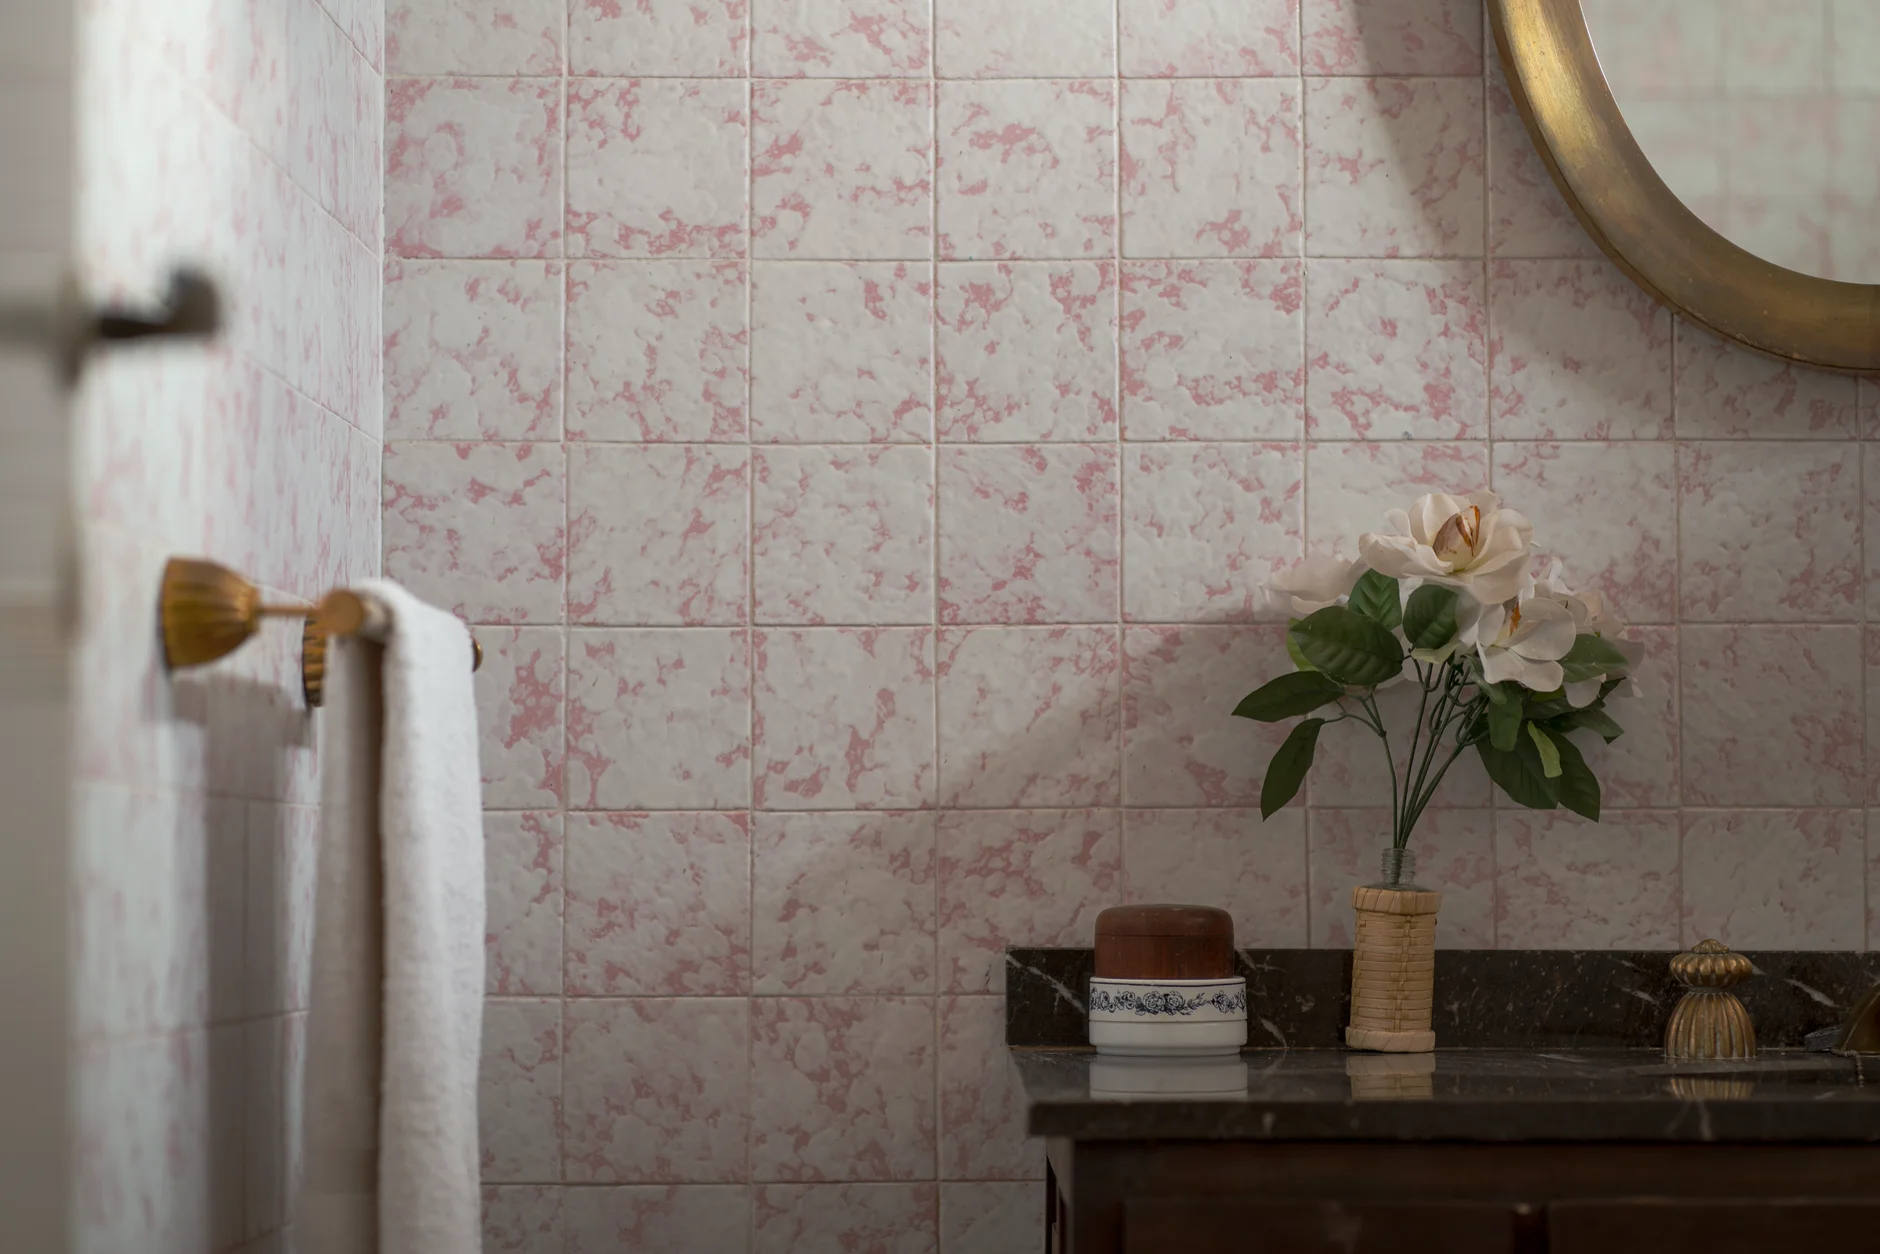
Standard grout is cement and sand, hard on the face and full of pores underneath. Every shower pushes water, soap and the minerals in Cincinnati tap water into those pores. Scrubbing cleans the face. The gray that comes back a few months later is the same load working its way back up, with mildew growing on it because the joint never dries between showers.
The bottom row goes first because it stays wet longest. Why your shower grout turns gray again explains what happens inside the joint and gives the weekend routine: an oxygen-bleach clean, a full day of drying with the fan on, then a penetrating sealer. On a sound wall that buys you most of a year. The sealer wears off, so you'll be doing it again next spring.
Stage 2: the caulk line at the tub
The joint where the tub meets the tile moves a little every time someone steps in, since the tub flexes under the weight of the water and the person in it. Grout can't take that movement, so the joint gets caulk instead. The pink stripe that keeps coming back on it is a common bacterium feeding on soap film, and the black spots are mildew. Both mean the caulk is holding a film and staying damp.
Cut the old caulk out with a razor, let the joint dry for a day, and run a bead of 100 percent silicone. It's the smallest repair in this post, and it's worth doing even on a shower you plan to replace next year. This joint is where most of the water that ends up in the floor gets in.
Stage 3: the wall behind the tile
This is where fixing from the front stops working. In a house built in the 1960s, the tile is stuck to one of two kinds of backing. One is a thick mortar bed over metal lath. The other is gypsum board, often the green water-resistant kind, with the tile glued to it. Greenboard stayed allowed behind tub and shower tile until the 2006 International Residential Code took it out of wet areas, a change Walls & Ceilings reported in 2004, ahead of that edition. In most of these showers there's no waterproofing membrane, at most a layer of tar paper behind a mortar bed.
The Environmental Protection Agency's guidance for water-damaged buildings says to dry wet materials within 24 to 48 hours, and it treats wallboard that has swelled or come apart at the seams as material to remove and replace. Once water is getting through the grout, the board behind it gets wet every time someone showers and never gets 48 hours to dry.
Tap every tile on the tub wall with a knuckle, top to bottom. A solid click means a sound wall. A dull sound means the board has taken on water and let go of the tile, and new grout on that wall is new grout on wet board. What's behind the shower tile in a 1960s Cincinnati bathroom goes through the wall layer by layer.
Stage 4: the subfloor next to the tub
Water that gets past the caulk runs down the outside of the tub and onto the subfloor, the plywood or boards under the vinyl. Drips off the bath mat and mop water run to the crack where the tub apron meets the floor and go under it too. The Forest Products Laboratory puts the point where rot fungi start at about 25 to 30 percent moisture in the wood, in a 2014 chapter on decayed wood. A subfloor that takes on water past the caulk every time someone showers can stay above that line, because nothing under the tub lets it dry.
You feel this stage as a spot by the tub that gives under your heel. From the basement you see it as a dark ring around the drain or a stain on the joist next to it. The soft wood runs under the tub, so fixing it means lifting the tub out, which takes the bottom row of tile and the drain with it. Soft floor next to your bathtub covers the three places water gets under a tub and a fill test that tells you which one you have.
Stage 5: the pipes in the wall
This one runs on its own clock. Many houses from the 1950s and 60s were plumbed in galvanized steel, which InspectApedia puts at a 40 to 60 year service life. It rusts closed from the inside. You notice it as hot water that comes out slower than it used to at every tap in the house, and a second of rusty water from the spout after you've been away for a week. If only the shower is slow, look at the showerhead or the valve first.
If the house has an access panel behind the tub wall, usually in a closet or the hallway on the other side, open it. Gray metal with rust at the threads is galvanized. Copper is orange or brown, and white, red or blue plastic means someone has already replaced it. Old galvanized pipe isn't an emergency, but it's the reason to replace the valve piping while the wall is open, and not after a new wall is up.
The bathroom fan that makes the first four worse
A fan that rattles and won't hold a square of toilet paper to the grille is a big part of why the wall never dries. The Department of Energy's Building America Solution Center says a bathroom fan should move at least 50 cubic feet of air per minute when it's switched on, or 20 if it runs all the time, and should vent directly to the outside, not into an attic. Plenty of original fans in Cincinnati ranches were never that strong, and some of them vent into the attic. Running a weak fan for 20 minutes after every shower helps. Replacing it with one ducted outdoors helps more, whatever you decide about the shower.
A 20-minute check you can do this weekend
- Look at the bottom row of grout and the caulk at the tub. Gray grout and a pink line are stages 1 and 2.
- Tap every tile on the tub wall and mark any dull spots with painter's tape.
- Press with your heel along the tub apron and around the base of the toilet.
- Go to the basement with a flashlight and look at the ceiling under the bathroom, around the drain.
- Open the access panel, if there is one, and see what the pipes are made of.
- Turn the fan on and hold a square of toilet paper to the grille. If it falls, the fan isn't pulling.
Write down what you find. If only the first and last checks turn something up, you're still in the stages you can fix from the front.
When to stop fixing and replace the shower
Cleaning, sealing and new caulk are worth doing on a shower under about 20 years old with a solid tap and a dry floor. They're the right call, and nobody should talk you out of them.
The line comes when any one of these is true:
- The shower is 20 years old or more and you've regrouted it twice.
- Tiles sound dull when you tap them.
- The floor next to the tub gives.
- There are stains on the basement ceiling under the bathroom.
Past that line, the money you put into the front of the wall goes onto wet board. The showers our crews replace are mostly 20 years and older, and in those, the wall behind the tile is the job.
Your two options once the wall comes out
Either way, the old tile and the board behind it come out to the studs, and someone sees the subfloor and the pipes.
A tile contractor rebuilds with cement backer board and a waterproofing layer, then sets new tile. Done right, that's a good shower that lasts a long time. It still has grout joints, the joints still need sealing, and the cure times stretch the job across several days.
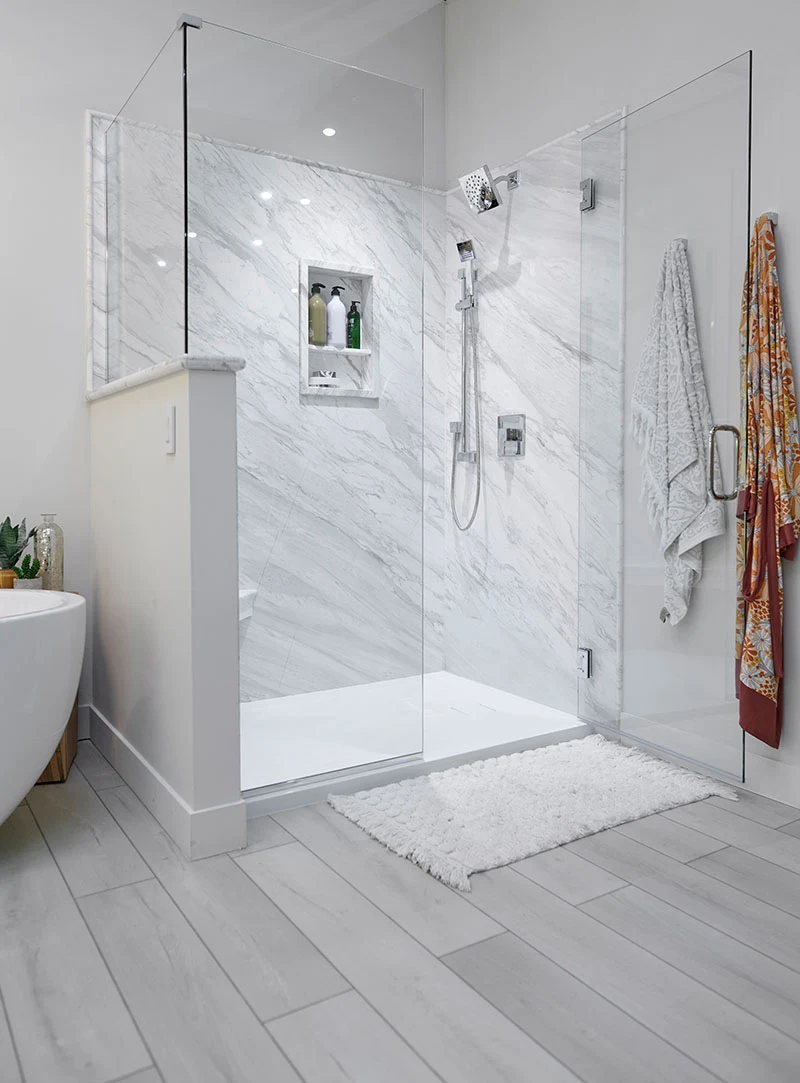
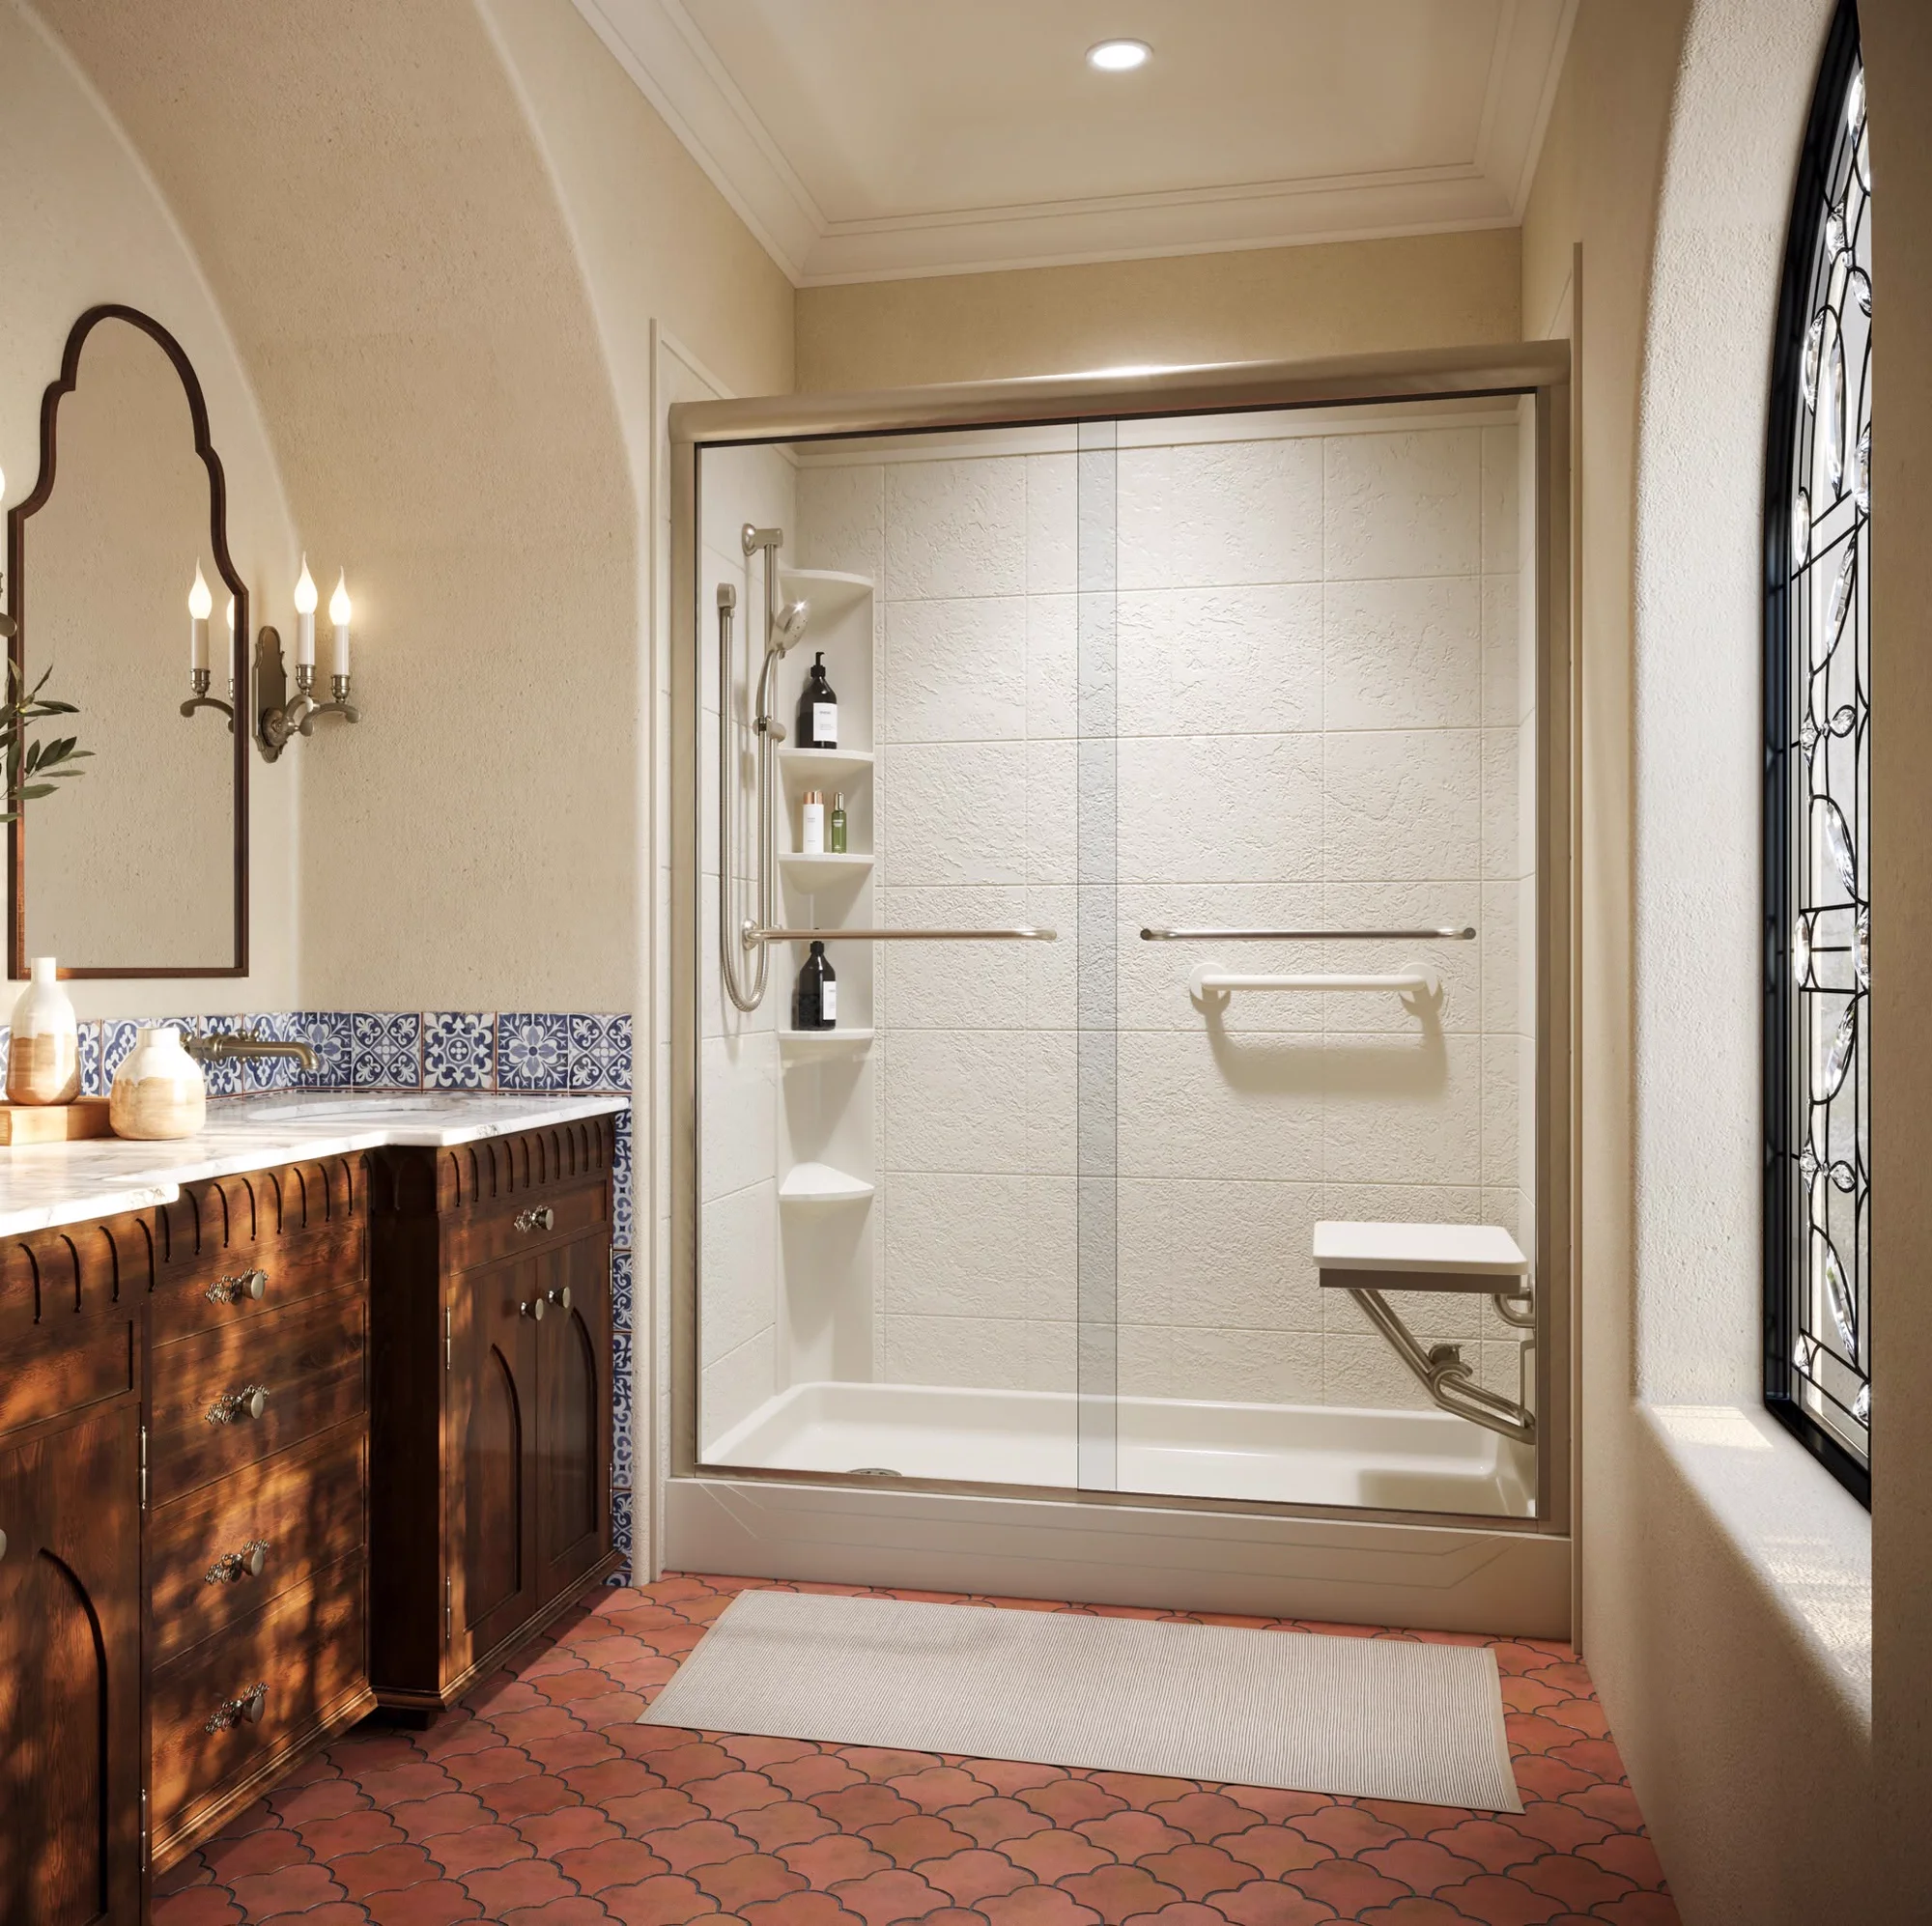
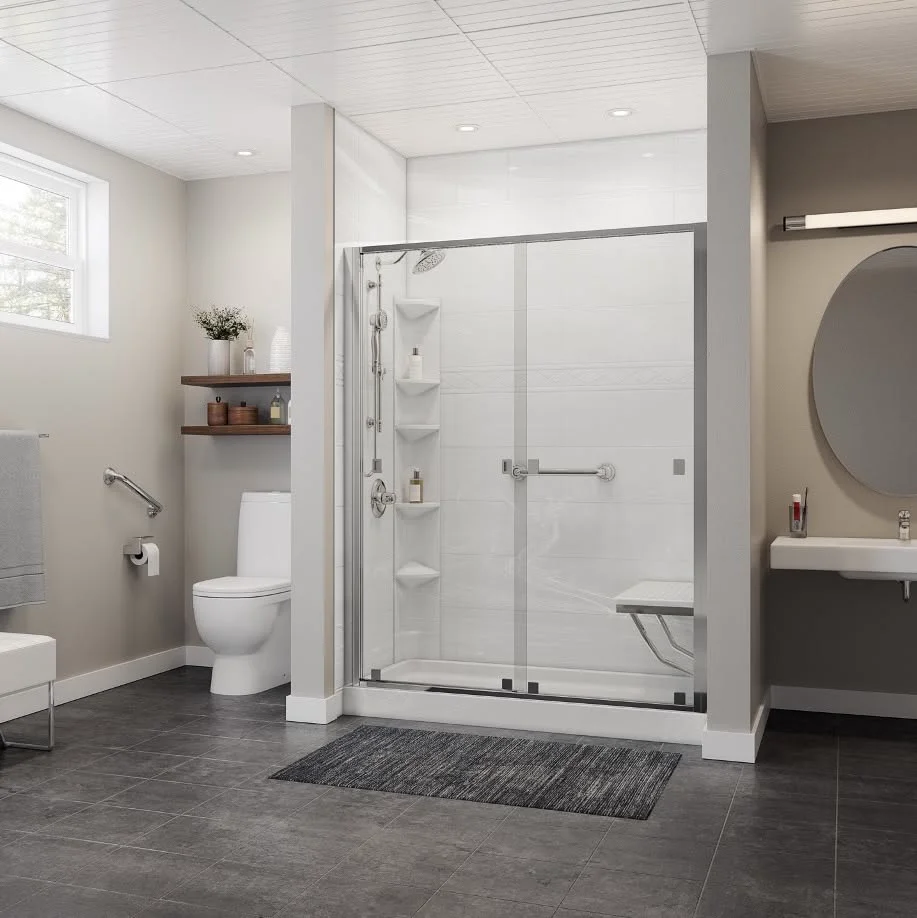
A grout-free shower uses one solid-surface panel per wall, measured in your bathroom and made to those numbers before install day. With no grout there's no stage 1. There are no grout lines on the walls, so there are no grout joints for water to work through. Tile vs. acrylic shower walls compares tile with panel walls like these over 20 years and gives tile its due.
Bulldog builds the second kind. Our installers take the tub or shower area to the studs in the morning, look at the subfloor and the pipes with the wall open, and have the new base, walls and fixtures in by evening. You take your first shower the next morning. The rest of the room (floor, vanity, toilet) is a separate, longer job, and we tell you that before you sign. The one-day remodel page walks through install day hour by hour.
If you're not there yet, do the weekend check and start with the caulk. If the tap test and the floor both come back clean, the grout routine in stage 1 keeps a sound wall going for most of a year at a time.