Key takeaways
- Refacing puts new doors and drawer fronts on your old boxes, so the oak grain on the fronts is gone.
- Refinishing keeps the wood look and the grain, and stain tends to make the grain stand out more.
- Paint changes the color but shows oak's open grain through it unless someone fills the pores first.
- Painting is the one you can do yourself; refacing is a job for a crew.
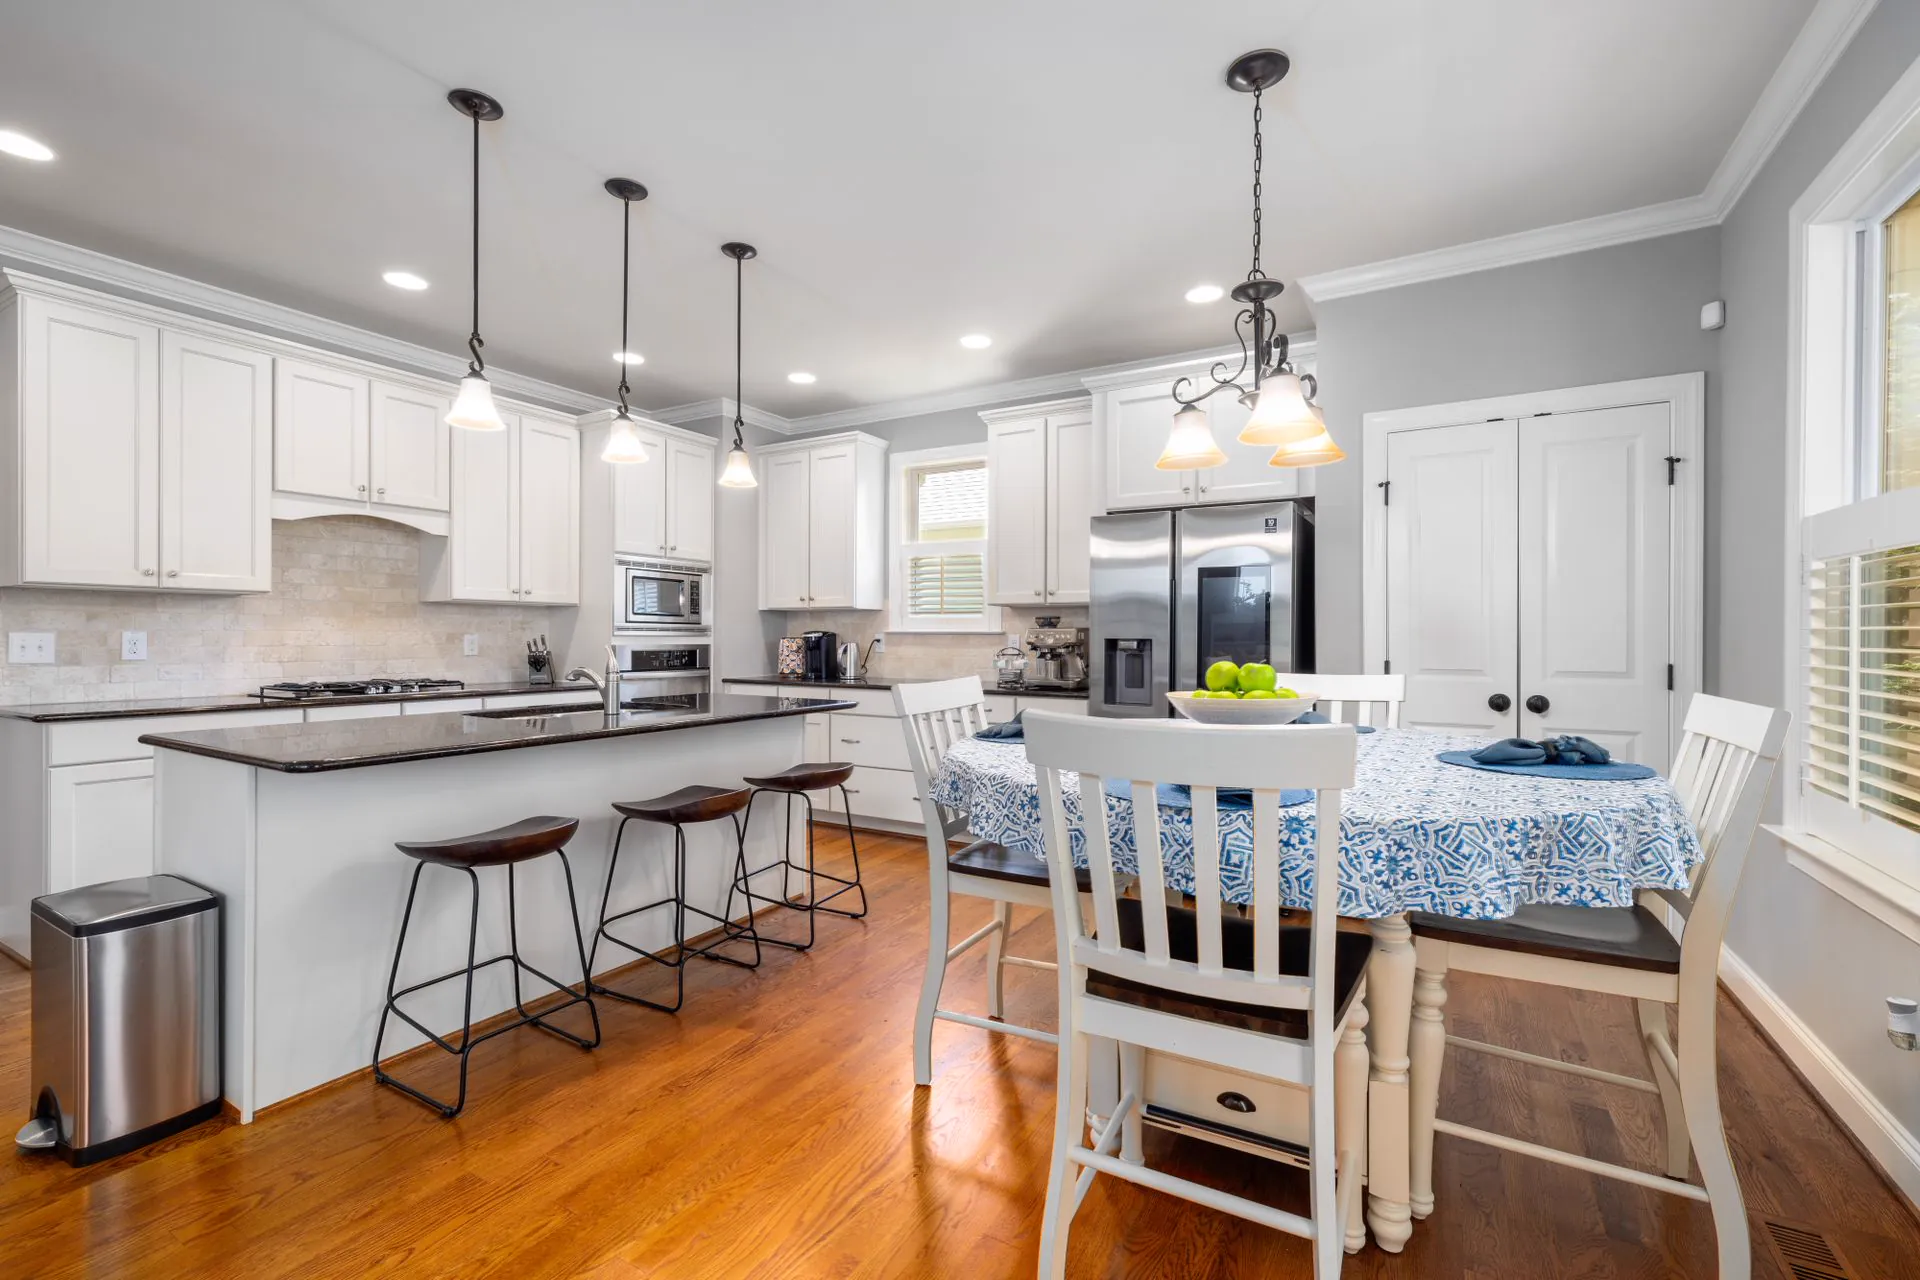
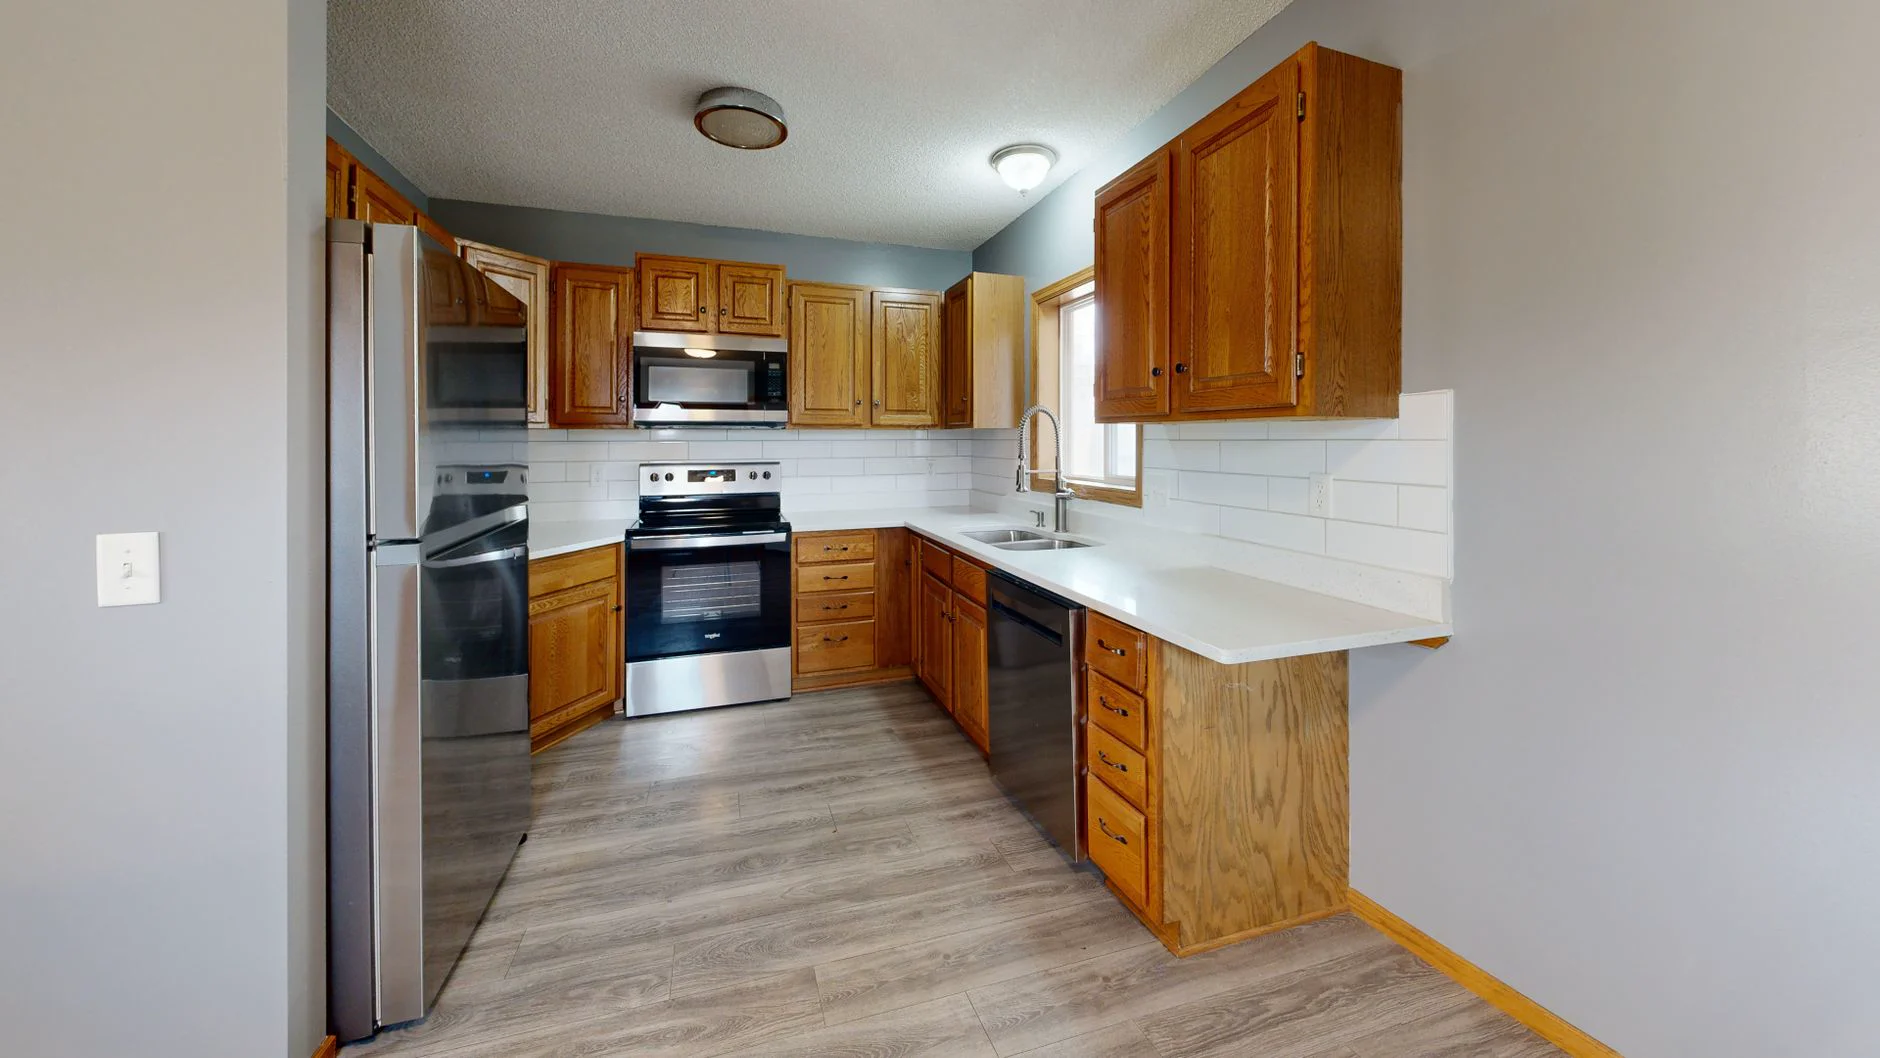
Your kitchen got its oak cabinets in a refresh around 1995, and the boxes are still solid. What bothers you is the color, which has gone from honey toward orange, and the bare wood showing through the finish beside the handles on the drawers you use every day. You want to update oak kitchen cabinets without tearing the kitchen out. You have three ways to do it: refacing, refinishing and painting. Each one does something different to oak's grain, and the grain is what you'll see when the work is done.
Refacing puts new doors and drawer fronts on the old boxes, so no oak grain is left on the fronts. Refinishing keeps the wood look and keeps the grain. Paint changes the color, and the grain still shows through it as texture unless someone fills it first.
Why oak grain shows through paint and stain
Run a fingernail across one of your cabinet doors. You'll feel ridges, and you'll see bands of small open pores running with the grain. Oak is what woodworkers call open-grained wood. The Forest Products Laboratory's Wood Handbook lists oak first among its open-grained woods, and its chapter on finishing says the pores in most ring-porous hardwoods, the group oak belongs to, need to be filled to get a smooth finished surface. For red oak it says filler is necessary to get a smooth, glossy look.
The same chapter explains the other two effects you'll run into. Stain collects in the open pores, so the pore bands take on more color than the dense wood between them. That's why a darker stain on oak makes the grain louder. And the higher the gloss of a finish, the more it shows every flaw under it, so a shiny paint on unfilled oak makes the pores stand out.
Option 1: Refacing, new fronts on the old boxes
Refacing takes the old doors and drawer fronts off and puts new ones on. The face frames, the wood rectangle the doors hang on, get covered in a thin new veneer so they match the new doors. The boxes stay on the wall, and the countertop and the sink plumbing stay where they are.
What it does to the grain: the oak on the fronts is gone. The doors you see are new doors, in whatever style and finish you pick. Our doors come in shaker, flat-panel and raised-panel styles, in painted, stained and two-tone finishes. A painted shaker door with a flat MDF center panel reads smooth, since MDF has no grain to show through. Shaker, flat or raised-panel doors covers which style suits an older house.
How it tends to hold up: the fronts are new, so they wear like new doors. The boxes behind them have plenty of life in them. In a 2007 study of how long home components last, the National Association of Home Builders put kitchen cabinets at up to 50 years, and noted that some parts of a house stay functional but go out of style. A sound oak box from 1995 fits that description.
DIY or pro: pro. The doors are made to measured sizes, and the veneer has to go on flat and tight to the frame.
Refacing works on solid boxes. A soft sink base or a face frame pulling loose means new cabinets instead, and our cabinets page says so in one line. If you want to know which kind of boxes you have, the five-minute check for whether your cabinets can be refaced walks you through it.
Option 2: Refinishing, keeping the wood
Refinishing keeps your doors and changes their finish. The old finish gets cleaned and sanded or stripped, the wood gets a new stain color, and a fresh clear coat goes over it.
What it does to the grain: the grain stays, and it's part of the look. Going darker is the easy direction. The stain darkens the open bands most, so a walnut or espresso color on oak gives you a strong, striped grain. Going lighter than honey is the hard direction, so ask whoever does the work how much of the old color will come out.
How it tends to hold up: the clear coat wears where hands touch it, the same way your current finish did beside the handles. The Wood Handbook, writing about oak floors, says to renew the clear top coats before they wear through to the stained wood, and that touching up worn spots to match the area around them is difficult. Cabinet doors follow the same rule. Keep the top coat up and the color stays even.
DIY or pro: possible as DIY, and messy. Stripping and sanding a kitchen's worth of doors and drawer fronts takes space, a dust plan and patience. Bulldog refinishes cabinets too, and the consultant will tell you at the measure whether your finish is a good candidate.
Option 3: Painting, the do-it-yourself option
Paint is the option you can do yourself, and on a sound cabinet it's a fair project if you respect the prep. Benjamin Moore's cabinet refinishing guide for its Advance cabinet paint lays the work out:
- Take off the doors, drawers, shelves and hardware, and label each piece where the hinge goes.
- Degrease every surface before you sand. Sanding a greasy door drives the grime into the wood.
- Sand everything with 150 to 220 grit until the old finish is rough, then vacuum and wipe off the dust.
- Prime, then give it a light pass with 220 grit or finer.
- Apply at least one finish coat, with a light sanding between coats.
- Give the last coat several days to cure before the doors go back up.
The guide adds that cabinets that were stained before may need a stain-blocking primer, so tell the paint store what's on yours. The same guide gives dry times in good conditions: 4 to 6 hours to the touch and about 16 hours before the next coat. With a primer and two finish coats on both sides of every door, that's at least two days of coats before the cure starts, and your kitchen has no doors the whole time.
What it does to the grain: without filler, the color changes and the texture stays. You get white-painted oak, with the pores showing as a pattern of little dimples. That's what the Wood Handbook's filler advice is warning about. A grain filler, wiped across the grain and sanded once it's dry, levels the pores before the primer goes on. It adds a step to every door, and it's the easiest step to skip.
How it tends to hold up: paint wears at the edges, around the handles and on the doors under the sink, where hands and feet hit it. Prep decides how soon the first chips show. Expect touch-ups either way.
DIY or pro: the most DIY-friendly of the three. A pro with a spray gun gets a smoother face than a brush, and the guide says the same: spray gives the smoothest finish.
Updating oak kitchen cabinets: the three options side by side
| Option | What changes | Oak grain afterward | How it wears |
|---|---|---|---|
| Reface | New doors, drawer fronts and frame veneer; boxes stay | Gone from the fronts | Like new doors |
| Refinish | New stain and clear coat on your doors | Stays, darker stain makes it stronger | Clear coat wears at handles; renew top coats |
| Paint | New color on your doors | Shows as texture unless filled | Chips at edges and handles; touch-ups |
Which one fits your kitchen
If you're staying for the next 15 or 20 years in a ranch in Anderson Township, and the oak itself is what you're tired of, reface. It's the only one of the three that leaves no oak on the fronts, and the boxes have the years left in them. If you like wood and only want it darker and fresh, refinishing keeps what you like.
If you're selling in two or three years, say from a 1994 two-story in West Chester to something smaller in Mason or Florence, Kentucky, start with the condition of the doors. Worn-through finish and loose hinges are the kind of wear a buyer sees on a first walk-through. Doors that are only dated may need a refinish or paint and nothing more. We can't give you a number for what new fronts add to a sale price, and we'd be careful with anyone who does.
If you're handy and the finish is sound, paint, and set aside the time for filler. Pick a satin finish over a high gloss, since gloss makes any pore you missed stand out.
"Won't refacing look like a cover-up?"
That's a fair worry. From the room, a refaced kitchen looks like new cabinets, since everything you see from the doorway is new: doors, drawer fronts and the frames they hang on. Open a door and the inside is the same oak box it was in 1995. The inside is where the plates go, and a sound box does that job. If the insides bother you, or you want to move the sink or add an island, new cabinets are the right call.
If you're reaching into the back of deep base cabinets, organizers fix that without new boxes. We fit pull-out shelves, a lazy Susan for the corner and a trash pull-out into new or existing cabinets.
What our consultant looks at
A Bulldog design consultant looks at your cabinets, walks you through door styles and finishes, and measures. The written quote comes after the measuring, and they'll recommend what fits your kitchen, refinishing included.
Many kitchen updates take a few days. A full kitchen with new cabinets takes longer, and your project coordinator gives you a schedule before work starts. Our own crews do the work, with a lifetime warranty on products and workmanship for as long as you own the home. Financing is available on approved credit. If you're comparing bids, the three questions to ask a contractor before a deposit work the same on a kitchen quote.
Start with the box check. If the sink base is dry and the frames are tight, you have all three options, and the doors and drawer fronts are the only part of the kitchen that has to change.
A new-looking kitchen in days, not months walks through every part of the kitchen in order: what to keep and what to replace.